Documentation

1.Getting Started
Thank you for using this theme and plugin. If this instruction doesn’t cover your queries feel free to contact us and we will do what we can. We have tried our best to keep it as simple as possible. If you think it can be made even simpler let us know we will be glad to change it.
2.How to Install Theme
Installing Theme via WordPress interface
- Go to Dashboard > Appearance > Themes
- Click on Add New
- Search for the Envo Multipurpose Theme.
- Click on Install and activate the theme
Installing Theme Offline
- Download a Copy of Envo Multipurpose Theme from WordPress or our site.
- You’ll get ‘envo-multipurpose.zip’ file save it in your storage.
- Go to Dashboard > Themes > Click on Add New
- Click on Upload Theme button.
- Browse for the theme you’ve have downloaded.
- Click on Install and Activate the theme.
Installation Via FTP/Cpanel
- Download a Copy of Envo Multipurpose Theme from WordPress or our site.
- Now Connect the FTP server using the FTP details and copy the extracted folder to ‘site-name/wp-content/themes/’ path.
- Now, go to the Dashboard >> Appearance > Themes.
- You will see the Envo Multipurpose theme in the theme dashboard.
- Activate the Envo Multipurpose theme.
- Click on Dashboard >> Appearance >> customize for further setup.
3.Installing Envo Multipurpose PRO
In order to use Envo Multipurpose PRO plugin, you’ll need to first install and activate it. The process is just like installing a normal plugin.
You can find the download link in the order confirmation email or you can download the purchased plugin from download tab on your account on our website.
Do NOT unzip the .zip file!!!
In your WordPress dashboard, go to Plugins > Add New. From there you’ll see an option for Upload. Click the Browse button, navigate your computer files and select the .ZIP file for your downloaded extension. Once it’s uploaded, click the Activate link.
3.1.Plugin Install Failed
Receiving this error?:
The package could not be installed. The theme is missing the style.css stylesheet.
You’re most likely trying to install the plugin as a theme.
Head to your account and download your add-on file, then install it as a plugin.
3.2.No .zip file
You are using MAC probably with Safari browser that unzip the file by default.
Do the following so your zip files don’t open automatically after you download them:
1) Go into Safari Preferences.
2) Page titled General.
3) Scroll down to the bottom.
4) Deselect the box with the text “Open safe files after downloading”.
5) The plug-ins will now download as a .zip file which uploads
seamlessly to WordPress.
Or use another broswer/PC
Or use FTP method
4.One Click Demo Import
You can import all our demos with simple click.
To do this install and activate free One Click Demo Import plugin
From your WordPress dashboard
- Go to Apparance – Envo Multipurpose Theme
- Hit tab “One Click Demo Import”
- Install and activate the importing plugin
From WordPress.org
- Download ‘One Click Demo Import’.
- Upload the ‘one-click-demo-import’ directory to your ‘/wp-content/plugins/’ directory, using your favorite method (ftp, sftp, scp, etc…)
- Activate ‘One Click Demo Import’ from your Plugins page.
Once the plugin is activated go to Appearance -> Import Demo Data
You can select from several demos that you can import into your website. Hit “Import” button, read the note – Some imports require 3rd party plugins installed, install and activate them before the import, and confirm your selection. Be patient and do not leave the page before the import ends. It takes some time till the importer upload all content and images.
After the import go to Appearance – Widgets and setup the widgets (based on your previous content, there could be differences)
Issues with the import, that we can’t fix in the plugin or theme
Please visit this docs page, for more answers to issues with importing data.
5.Homepage Setup
Envo Multipurpose is fully widgetized. By default the home page displays the Homepage Widgetized Area with the blog feed below.
There are 8 widgets bundled with the free Envo Multipurpose theme.
To start creating the magazine homepage go to Customizer >> Widgets (or Dashboard >> Appearance >> Widgets).
Select/Drag the EM: ….. widget and drop it into Homepage Widgetized Area. Setup the widget options.
Allowed widgets in Homepage Widgetized Area:
- EM: Blog Posts
- EM: Services
- EM: Slider
- EM: Static Content
- EM: WooCommerce Categories
- EM: WooCommerce Products
If you put different widgets into this area, they will not fit probably. These widgets will not fit in other widget areas.
5.1.Create static front page / disable blog feed
To disable blog feed, you must create new custom page, set the “Homepage” template and assign this page as Front Page:
- Go to Dashboard >> Pages >> Add new.
- Enter the title of the page.
- Select Homepage as a page template from Template drop-down option.
- Click on Publish/Update button.
- Create another new page
- Enter the title of the page (for example “Blog“)
- Publish the page
Configure front page
- Go to Dashboard > Settings > Reading
- Inside the Front page, displays set the option to A static page and choose the page you created using Home Page page template from the Front Page drop-down list.
- Set the “Posts page” – choose the page “Blog” – this will be your blog feed page
- Once done, Click on Save Changes button.
5.2.EM: Static Content

Use this widget to assign a page with unique content to display on your homepage. The widget will grab the featured image you set for the assigned static page, and apply it as a full width background image.
Youtube videos
With this widget you can display Youtube videos as background. To do this add Youtube ID into “Youtube video ID” field. If you set the page featured image, it will be displayed before the video loads and start playing.
However the Youtube videos are not allowed in some browsers (like Safari or some mobile browsers versions). In this case will be displayed the page featured image (if you set it).
Shortcodes
You can display any content with this widget. You can use some 3rd party plugins to display for example – contact forms, portfolios, testimonials, etc. Use plugins that allows you generate content with shortcodes. Create a page, add the shortcode and display the content with this widget.
Example plugins:
5.3.EM: Services
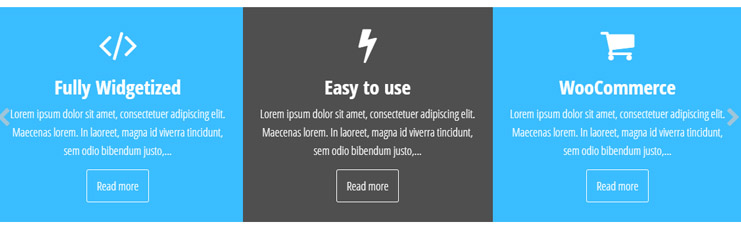
Use this widget to display services carousel. You can control the services globally and each service separately.
The widget displays 3 pages (services). If you add more than 3, the widget turns into carousel.
5.4.EM: Slider
Use this widget to display slider. You can control the slider globally and each slide separately.
Slider live demo: HERE
5.5.EM: Blog Posts
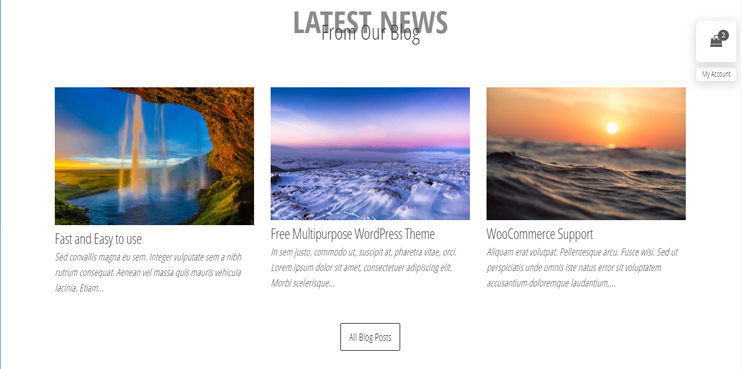
Use this widget to display your latest posts (or posts from selected category) on your homepage.
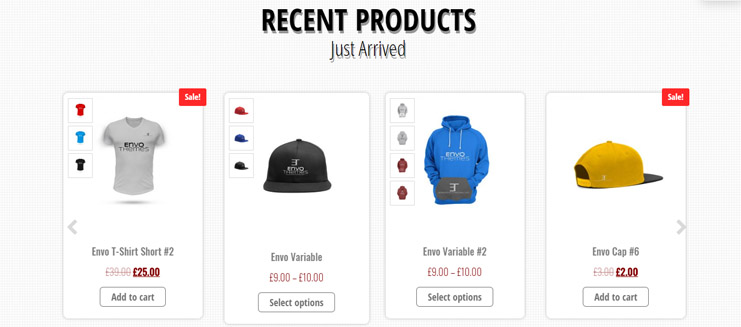
5.6.EM: WooCommerce Products
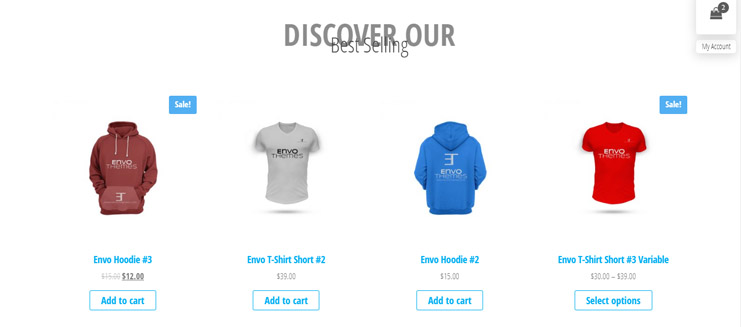
Use this widget to display WooCommerce products. You can display products:
- By ID
- Products in custom category
- Recent products
- Sale products
- Featured products
- Top rated products
- Best selling products
The WooCommerce plugin must be enabled and you must have some products!
5.7.EM: WooCommerce Categories
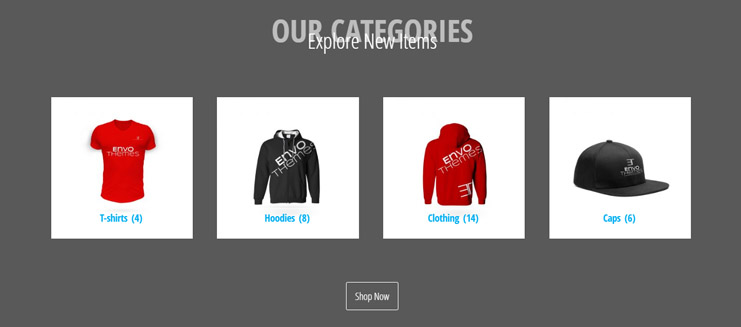
Use this widget to display WooCommerce categories. You can display all categories or you can specify the displayed categories.
The WooCommerce plugin must be enabled and you must have some products & product categories!
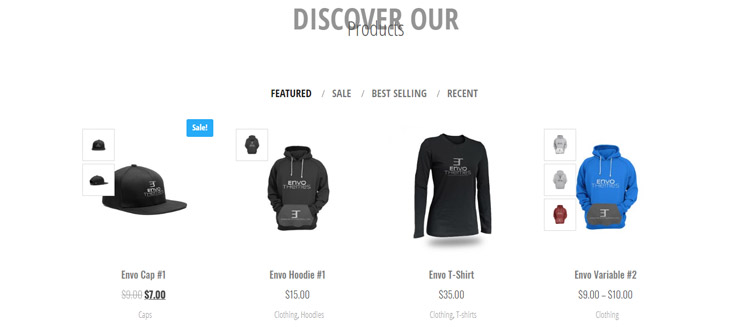
5.8.EM: WooCommerce products carousel (PRO)
With our Envo Multipurpose PRO plugin you can display WooCommerce products in carousel.
Live demo page HERE
You can display products:
- Number of columns (2-6)
- Number of products in carousel
- Recent products
- Sale products
- Featured products
- Best selling products
The WooCommerce plugin must be enabled and you must have some products!
5.9.EM: Tabs (PRO)
With our Envo Multipurpose PRO plugin you can display tabs with your custom content or page.
Live demo page HERE
Use this widget to display custom text or page content. You can display shortcodes in this area.
5.10.EM: Circle counter (PRO)
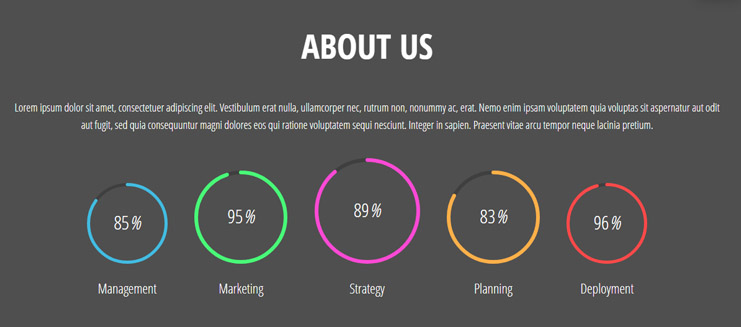
With our Envo Multipurpose PRO plugin you can display counters.
Live demo page HERE
Use this widget to display counters. You can setup color, counter thickness, size, text and percentage of every single counter.
5.11.EM: Testimonials (PRO)
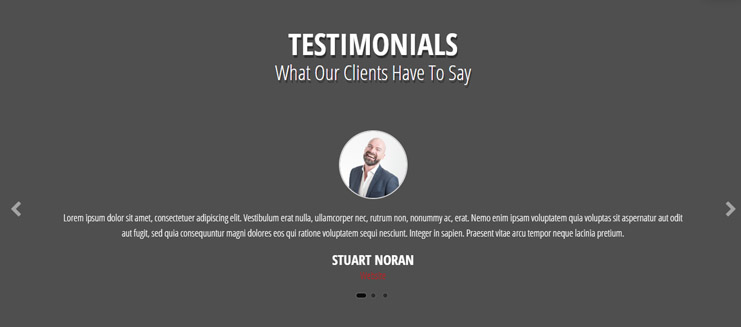
With our Envo Multipurpose PRO plugin you can display testimonials. It is a one column carousel
Live demo page HERE
Use this widget to display testimonials (or one column carousel)
5.12.EM: My team/Carousel (PRO)
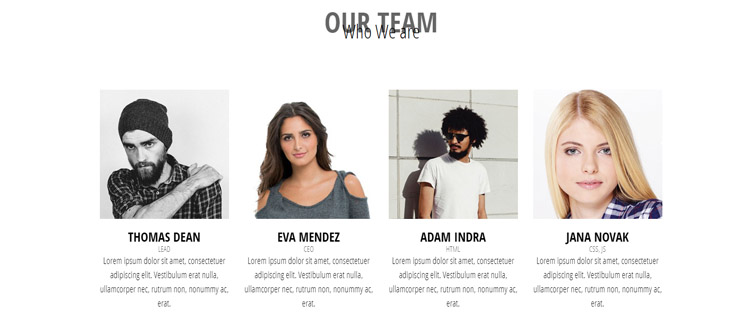
With our Envo Multipurpose PRO plugin you can display your team, carousel, grid columns.
Use this widget to display your team, carousel or grid content
5.13.EM: Blog posts carousel (PRO)
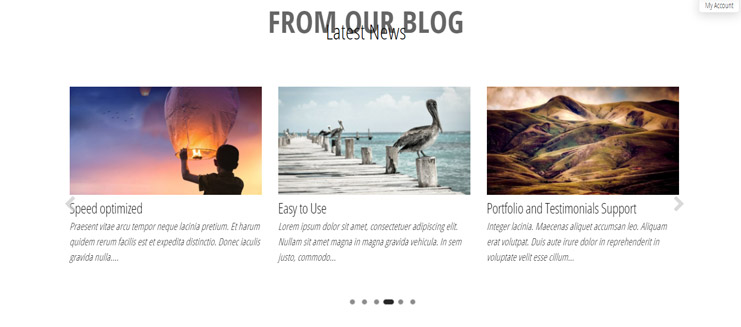
With our Envo Multipurpose PRO plugin you can display carousel with blog posts.
Live demo page HERE
Use this widget to carousel with blog posts. You can define visible columns (2-5), number of posts and displayed category.
6.Drag & Drop Page Builders
Envo Multipurpose and PRO addon supports Drag & Drop Page Builders like Elementor, Brizy, KingComposer, SiteOrigin, BeaverBuilder….
They are free to use and most of them are available on WP.org repository. To install some page builder go to WP dashboard – Plugins – Add new and search the plugin name. Install it and activate it.
You can import some Elementor, KingComposer or Brizy demo layouts with our One Click Demo import function
6.1.Getting Started With Elementor Page Builder
Theme supports Elementor Page Builder plugin. Install and activate the free Elementor Page Builder.
To start working with Elementor, go to the WordPress dashboard and add a new page by clicking on Pages > Add New.
- Set the page title
- Set the page template “Page Builders”! (important step)
- Save the page.
- Click on the ‘Edit with Elementor’ button

6.2.Getting Started With Brizy Page Builder
Theme supports Brizy Page Builder plugin. Install and activate the free Brizy Page Builder.
To start working with Brizy, go to the WordPress dashboard and add a new page by clicking on Pages > Add New.
- Set the page title
- Set the page template “Page Builders”! (important step)
- Save the page.
- Click on the ‘Edit with Brizy’ button
6.3.Getting Started With KingComposer Page Builder
Theme supports KingComposer Page Builder plugin. Install and activate the free KingComposer Page Builder.
To start working with KingComposer, go to the WordPress dashboard and add a new page by clicking on Pages > Add New.
- Set the page title
- Set the page template “Page Builders”! (important step)
- Save the page.
- Click on the ‘Edit with KingComposer’ button or “Live edit with KC PRO!” (KC Pro! license is included in Envo Multipurpose PRO addon)
You can import KingComposer templates by hitting “Sections/Templates library” button located under the content. ![]()
- Select content “Prebuild Templates”
- Select the package “Envo Multipurpose”

6.4.Getting Started With Beaver Builder Page Builder
Theme supports Beaver Builder Page Builder plugin. Install and activate the free Beaver Builder Page Builder.
To start working with Beaver Builder, go to the WordPress dashboard and add a new page by clicking on Pages > Add New.
- Set the page title
- Set the page template “Page Builders”! (important step)
- Save the page.
- Click on the ‘Beaver Builder’ tab button
6.5.Getting Started With SiteOrigin Page Builder
Theme supports SiteOrigin Builder plugin. Install and activate the free SiteOrigin Page Builder.
To start working with SiteOrigin, go to the WordPress dashboard and add a new page by clicking on Pages > Add New.
- Set the page title
- Set the page template “Page Builders”! (important step)
- Save the page.
- Click on the “Page Builder” tab button
7.WooCommerce
Theme 100% supports WooCommerce plugin. Install and activate the WooCommerce plugin from WP.org repository: https://wordpress.org/plugins/woocommerce/
To setup the plugin go to WP Dashboard – WooCommerce – Settings
To setup WooCommrece display go to Customizer – WooCommerce
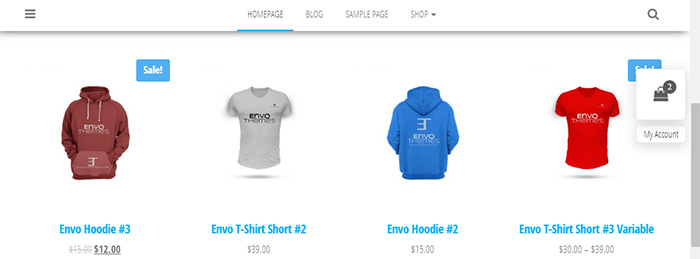
7.1.Header Cart & My Account

The header cart and my account link will be displayed automatically after you activate the WooCommerce plugin.
You must setup the pages in the WooCommerce settings. Docs: https://docs.woocommerce.com/document/woocommerce-pages/
Floating
When you scroll down, the cart and my account link floats on the right with the scrolling page:
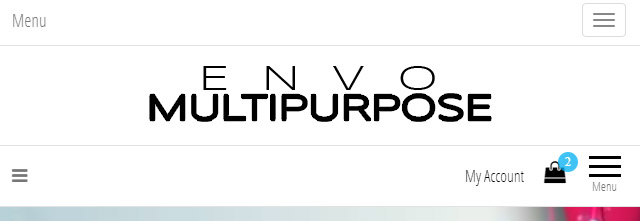
Mobile devices
On the mobile devices is the cart and my account link displayed in the menu bar:
With our Envo Multipurpose PRO plugin you can disable My Account link and Cart. To do this enable teh PRO addon and go to Customizer – WooCommerce – General Settings
7.2.WooCommerce ajax search
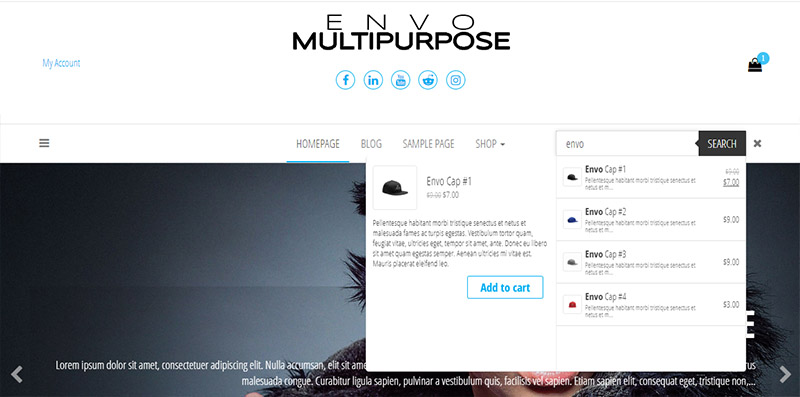
Theme supports free ajax search plugin Ajax Search for WooCommerce. With this plugin you can turn the menu search box into WooCommerce search box with ajax loading.
Demos: Demo #1, Demo #2, Demo #3, Demo #4
To enable this feature, install and activate the Ajax Search for WooCommerce plugin. The search box will turn automatically into WooCommerce ajax search.
To setup the search box go to WooCommerce – AJAX search form
7.3.WooCommerce content / shortcodes
You can display products and categories with our EM: WooCommerce Products widget and EM: WooCommerce Categories
WooCommerce comes with several shortcodes that can be used to insert content inside posts and pages.
Check this tutorial, how to “display” the products, categories, etc. with the shortcodes: https://docs.woocommerce.com/document/woocommerce-shortcodes/
7.4.WooCommerce & Envo Multipurpose PRO
With our plugin Envo Multipurpose PRO plugin you will get full WooCommerce support with product customizer (colors, typography, layouts), new features, widget, shortcode etc…
Envo Multipurpose PRO video presentation:
8.Shortcodes
With our shortcodes you can display important content in posts, pages or some widgets. Here are shortcodes that will help you generate the content.
8.1.Blog posts carousel shortcode
With our Envo Multipurpose PRO plugin you can use shortcode that will display carousel with blog posts
Live demo page HERE
Basic shortcode:
[em-posts-carousel]
Full options shortcode:
[em-posts-carousel text_color="#666" category="17" columns="2" limit="10" slider_pause="4" autoplay="true" hover_pause="false" arrows="false" dots="true"]
Shortcode attributes:
- text_color – Color fo text – not set, theme default
- columns – default 3, number of displayed columns
- limit – default 6, number of displayed posts
- category – not set, you can define displayed category ID
- slider_pause – default 9, carousel rotation delay – in seconds
- autoplay – true or false, default “true” – autostart rotation
- hover_pause – true or false, default “true” – pause on mouse hover
- arrows – true or false, default “true” – display rotation arrows
- dots – true or false, default “false” – display rotation dots
8.2.WooCommerce Products Carousel shortcode
With our Envo Multipurpose PRO plugin you can use shortcode that will display carousel with WooCommerce products
Live demo page HERE
Basic shortcode:
[em-products-carousel columns="3" limit="8"]
On sale products:
[em-products-carousel columns="3" limit="6" type="on_sale"]
Featured products:
[em-products-carousel columns="2" limit="6" type="featured"]
Shortcode attributes:
- ids – not set, not required – Comma separated list of product IDs
- orderby – default date, sorts the products – date, title, ID, rand, none
- columns – default 4, number of displayed columns
- limit – default 8, number of displayed products
- type – not set, Product type – best_selling / on_sale / featured
- slider_pause – default 9, carousel rotation delay – in seconds
- autoplay – true or false, default “true” – autostart rotation
- hover_pause – true or false, default “true” – pause on mouse hover
- arrows – true or false, default “true” – display rotation arrows
- dots – true or false, default “false” – display rotation dots
9.General Settings
Configure site logo/title/favicon
- Go to Dashboard >> Appearance >> Customize >> Site Identity.
- Click on Select Logo for upload or change site logo from existing logo. ( preferred size for logo is 300×50 ).
- Enter Site Title and Tagline.
- Check box option about site title and tagline display.
- Click on Select Image for upload favicon.
- Then, click on Save & Publish button.
Configure Background Color
- Go to Dashboard >> Appearance >> Customize >> Colors.
- Choose the color for site background from Background Color color picker option.
- Then, click on Save & Publish button.
Configure Background Image
- Go to Dashboard >> Appearance >> Customize >> Background Image.
- Click on Select Image button.
- Upload or choose an image for website background. Once select image then visible many settings about background image.
- Then, click on Save & Publish button.
Configure Header Image
- Go to Dashboard >> Appearance >> Customize >> Header Image.
- Click on Add new Image button and select/upload your new header image.
- Then, click on Save & Publish button.
9.1.Configure site logo/title
- Go to Dashboard >> Appearance >> Customize>> Site Identity.
- Click on Select Logo for upload or change site logo from existing logo.
- Enter Site Title and Tagline.
- Check box option about site title and tagline display.
- Click on Select Image for upload favicon.
- Then, click on Save & Publish button.
9.2.Menu Settings
Theme includes 3 menus: Top left, Top right and main menu.
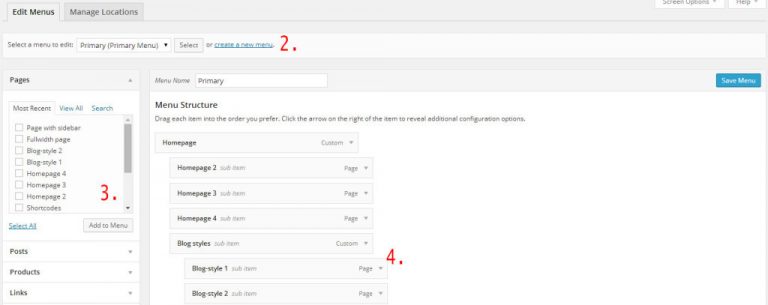
To setup the menu go to WP Dashboard – Appearance – Menus.
You can visit WP.org tutorial for more detailed instructions – https://codex.wordpress.org/WordPress_Menu_User_Guide
- Create a new menu by adding a “Menu Name” and save the menu (2.).
- Proceed by adding Pages, Categories and Custom Links to the new menu (3.).
- Organize your menu by dragging and dropping the links to your desired locations (4.).
- Set the menu location under the menu area
- Make sure to save your changes when you are done.
9.2.1.Mega Menu (PRO)
With our Envo Multipurpose PRO plugin you can get support of free Max Mega Menu plugin.
Mega Menu is available only for main menu.
To Enable Menga Menu:
- Install and activate the Envo Multipurpose PRO plugin
- Install and activate the Max Mega Menu plugin
- Now go to Appearance – Menus and enable the Mega Menu
- From this point you can create your own mega menus
To setup the colors, design and layouts of Mega Menu go to Mega Menu – Menu Themes and select “Theme to edit” – “Envo Multipurpose” (Important note: Keep the “Menu background” transparent)
For detailed Mega Menu documentation, visit the Max Mega Menu documentation page https://www.maxmegamenu.com/documentation/getting-started/installation/
9.4.Menu Widget Area
You can display widgets in the off-canvas menu section.
To enable the menu button, add some widgets into “Menu Section” under Appearance > Widgets.
9.5.Breadcrumbs
Theme supports Yoast SEO plugin and its breadcrumbs feature.
Install and activate the Yoast SEO plugin. After that, go to SEO → Search Appearance → Breadcrumbs and enable the breadcrumbs. On this page you can setup the Breadcrumbs options. Some options are available in Customizer – Yoast SEO Breadcrumbs
9.6.Footer Credits/Copyright (PRO)
You can edit footer credits (Copyright) info with our Envo Multipurpose PRO plugin
Install and activate the plugin and go to Customizer – Copyright
You can use simple text or HTML code.
9.7.Colors & Typography (PRO)
You can edit colors and set the font (800+ google fonts) for most important elements in Envo Multipurpose theme with our Envo Multipurpose PRO plugin.
Install and activate the plugin and go to Customizer – Colors and Typography
You can controll the theme colors and typography.
10.Updating Plugin
Create a backup of your entire website before updating the core, themes or plugins so that you could revert the changes if anything odd occurs.
Download the purchased plugin from download tab on your account on our website.
Via FTP:
- Unpack the zip file that you downloaded.
- Using FTP or your shell access, upload the new
envo-multipurpose-profolder into /wp-content/plugins/directory and replace all files.
Via WP dashboard:
- Go to Plugins – Installed Plugins and deactivate and delete the plugin (Envo Multipurpose PRO)
- Hit “Add New” in left top corner -> “Upload Plugin” and select the zip file you have downloaded before
- Hit “Install Now” button


9.3.Social icons in menu #
he theme automatically replaces links to popular social networks with icon equivalents.
Use “Custom link”, add the social page link and set the title. It should look similar to this:
Supported icons:
You can also use social icons in widget. Create a menu with your social icons and use “Navigation Menu” widget